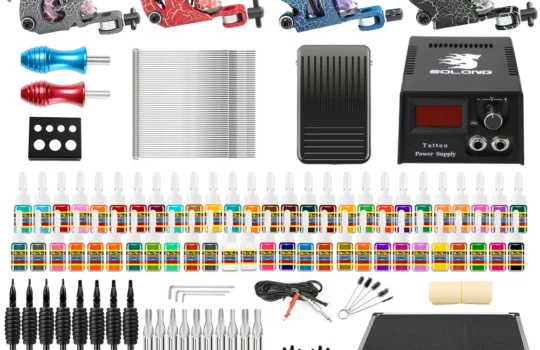
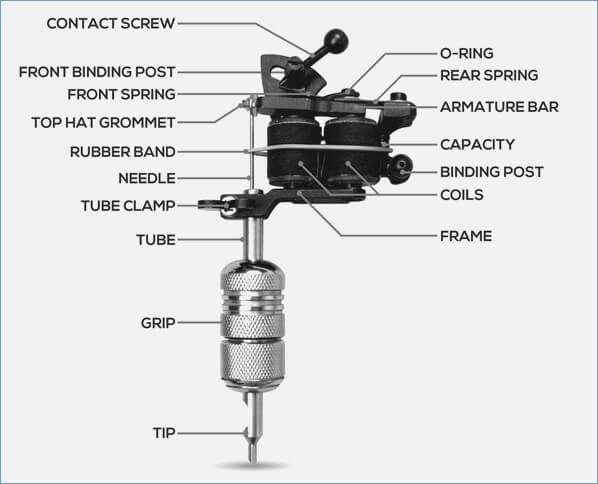
It is very cost-effective for beginners to choose coil tattoo machines. Nonetheless, the setup process of the coil machine also hinders many beginners from choosing it. Actually, it is not difficult to master the setup of the coil machine. The first thing we must do is to completely recognize each part of the coil machine, which is very beneficial to our next installment process.
Here are the main parts of its design:
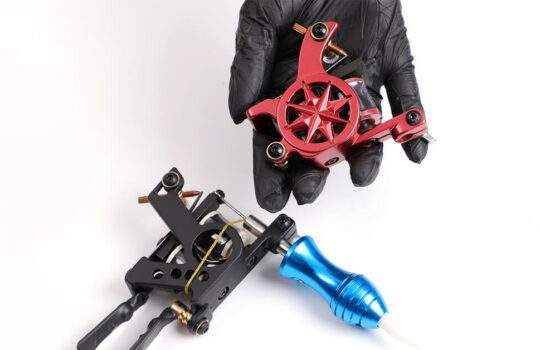
TYPES OF COIL TATTOO MACHINE
| Characteristics | Liner Coil Machine | Shader Coil Machine |
|---|---|---|
| Weight | Lighter | Heavier |
| The number of coils wraps | Less | More |
| Spring | Shorter | Longer |
| Armature bar | Chipped, Countersink | Full-body |
| Needle stroke rate | 120-150 Hz | 60-100 Hz |
| Speed and Power | Faster but less powerful capacitor | Slower but more powerful capacitor |
| The maximum distance between spring and armature bar | 5 mm | 10mm |
SETUP THE LINER COIL TATTOO MACHINES
Since the installation process of shader coil machine is similar with liner coil machine , we will use the liner coil machine as an example for the installation of this article.
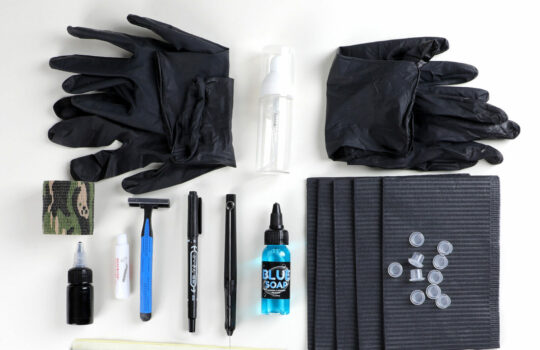
- Assemble a grommet. A grommet is put on the pin leading to the armature bar.
- Install the needle and grip. The needle bar is inserted into the hole of the tattoo machine and set up the grip, then secured with the tension screw
- Adjust the width of the screw and front spring. For the machines for liner, the point on your contact screw and front spring should be a dime’s width, which is the most suitable size.
- Fixed with a rubber band. To have a solid line, it is very important to keep the needle stable. The next thing to do is slip two rubber bands around your tattoo machine and the needle. Make sure the rubber band are placed evenly apart, as this will help distribute equal pressure to the needle.
- Connect the power supply to the machine. The clip cable to attach the device to the power source is easily accessible at the bottom of the device. On the power source itself, there will only be two inputs. Be certain that the cables are connected to the appropriate location.
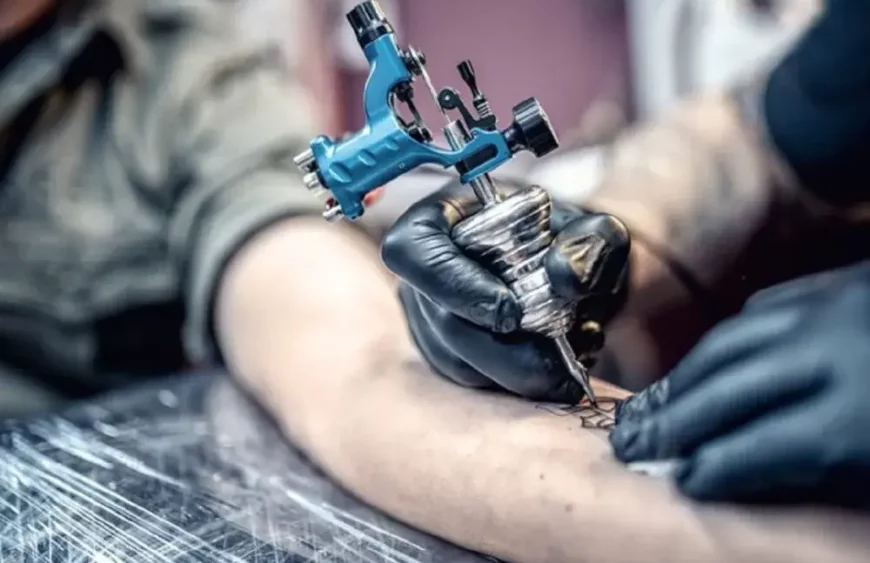
- Test the machine. You can now test the tattoo machine after it has been assembled and connected. At first, you can practice on apples or pears which are very similar to human flesh as well as use synthetic or pigskin to get a realistic tattooing experience.
Here is a visual installation tutorial for reference