Tattoo Machine Speed & Depth Setup Guidance 2022
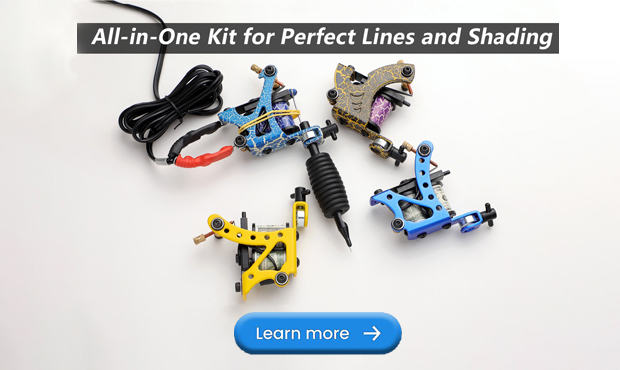
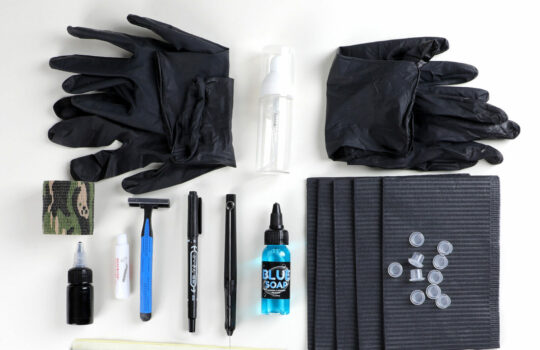
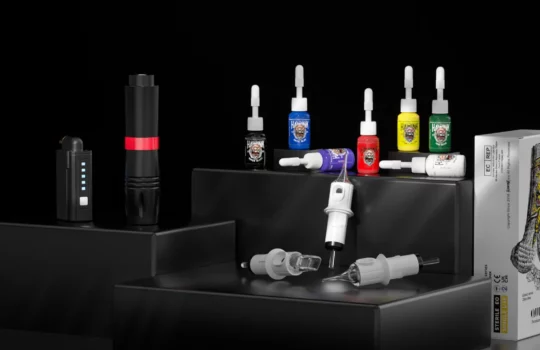
A tattoo machine is a tool that allows an artist to embed a tattoo on a client. An integral part of a professional tattoo apprenticeship is learning the components of, and how to tune a tattoo machine. But without general knowledge, it can get a little tricky to deal with one of these. Besides, you are at risk of harming yourself without the proper knowledge. Each artist finds as well as performs different settings for their own machine, enabling the artist to really feel comfy making use of the tattoo machine. The type of skin the client has, in addition to the dimension or type of tattoo, identifies the setting of the machine and the power supply. This rule applies to most machines, generally speaking, when you are using your tattoo machine for lining, keep the voltage from 7.5 to 8.5 Volts. When you are shading, the voltage should be from 8 to 10 Volts. There are different types of tattoo power supplies available in the market. While some are very basic with just power buttons and a few knob dials, some come with LCD, different knob dials, and switches. For the tattoo beginners, this kind of equipment is enough to use, the main target they should focus on is learning the skill, feeling, and knowledge about tattoos. If you’re using a wired rotary tattoo machine or a traditional coil machine, a tattoo power supply is an essential gear to start your tattoo session. It is easy to use just to follow the following steps. Note: Adjust other parts of the tattoo machine, like the armature bar, if the machine is not running to satisfaction after adjusting screws and the power supply. And Never tattoo someone without completing a professional apprenticeship.
Step 1 Plug in the power supply and attach the cord to the tattoo machine.
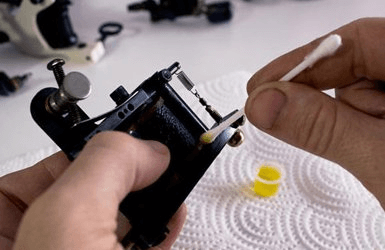
Place the tube in the tattoo machine and insert the needle in the tube. Tap the foot pedal to ensure the machine is working. 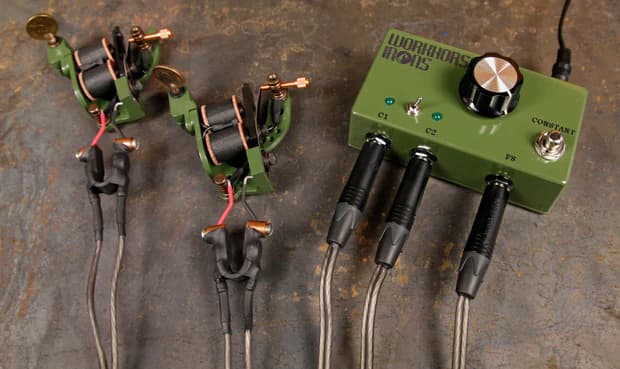
Step 2 Adjust the springs on the tattoo machine to control the depth.
Apply pressure with the hand that holds the machine, pressing down into the skin for more depth after adjusting the springs. If you’re using a rotary tattoo machine, the manufacturer must provide you a way to adjust the needle depth, try to find a knob, or turn the pen body(for pen-style tattoo machine) anti-clockwise or clockwise. 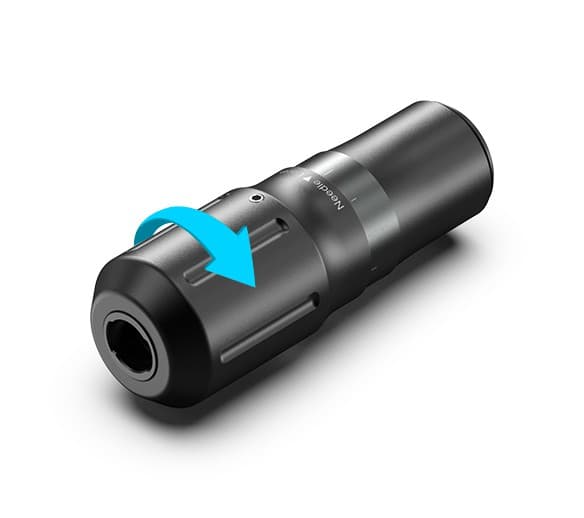
Step 3 Turn the voltage of the power supply up to adjust the speed.
The more voltage, or higher setting, of the power supply, equals a quicker speed. A lower speed is optimal for tattooing bony areas of the body and high speeds for fleshy parts. Different voltage and needle speeds for different tattoo sessions. Make sure you know what you’re doing before tattooing a person’s skin. Always remember, that tattooing is something you should take very seriously. If you find that something is not right with your tattoo power supply, stop using that immediately.
Related Articles

2 Comments
Leave a Comment
You must be logged in to post a comment.
lalalanettelane27
April 18, 2024 at 4:08 pmIs coil or rotary better for beginners?
wang ke
April 18, 2024 at 4:11 pmCoil and rotary machines have their pros and cons for beginners. Coils offer stability and detail for intricate work but require more experience. Rotary machines are lightweight and easier to handle, ideal for softer shading. Choose based on preference and style. Learning and practice are vital for safe tattooing.