Do You Know How to Use Stick and Poke Tattoo Kit in a Correct Way?


Hey there, tattoo enthusiasts and adventurous DIYers! If you’ve ever thought about adding a touch of personal art to your skin, you might have stumbled upon the intriguing world of stick and poke tattoos. These unique creations involve manually inserting ink into the skin using a needle, resulting in a rustic and organic aesthetic. But before you jump right in, it’s crucial to understand that while stick and poke tattoos can be a fun and creative endeavor, they also come with some risks.
In this guide, we’ll take you through the steps of using a stick and poke tattoo kit safely. We’ll walk you through the materials you’ll need, the workspace setup, skin preparation, design considerations, and the actual tattooing process. Remember, safety and hygiene are key here, so let’s explore how you can embark on your DIY tattoo journey while minimizing potential pitfalls.
So, whether you’re an aspiring tattoo artist or just curious about the art of stick and poke tattoos, buckle up as we delve into the world of DIY ink with caution, creativity, and care.
Table of Contents
1.Gathering Your Materials
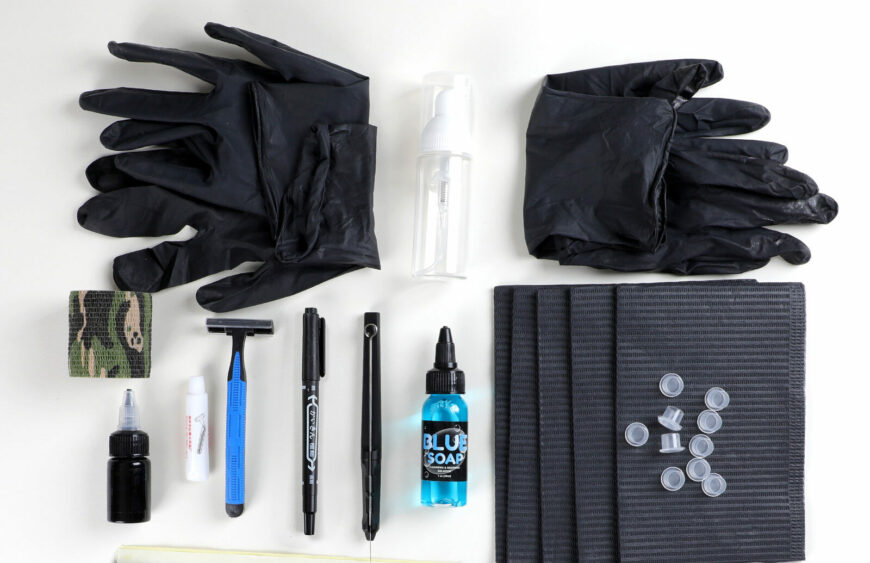
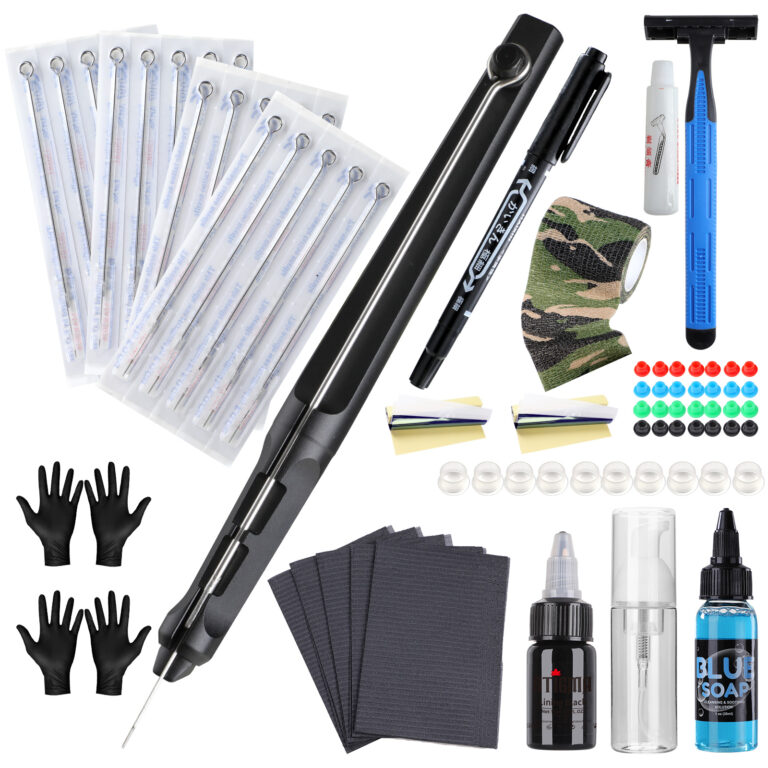
Alright, let’s get started by rounding up the essential items you’ll need for your stick and poke tattoo adventure. Think of it as your DIY tattoo toolkit – everything you need to create your masterpiece safely.
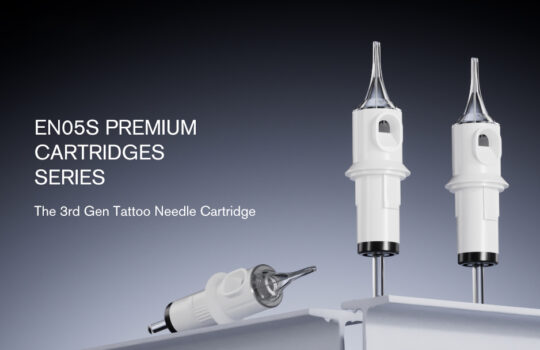
1. Stick and Poke Tattoo Needles: First things first, make sure you’ve got your hands on sterilized needles specifically designed for stick and poke tattoos. Using clean, quality needles is crucial to prevent infections and ensure a smooth tattooing process.
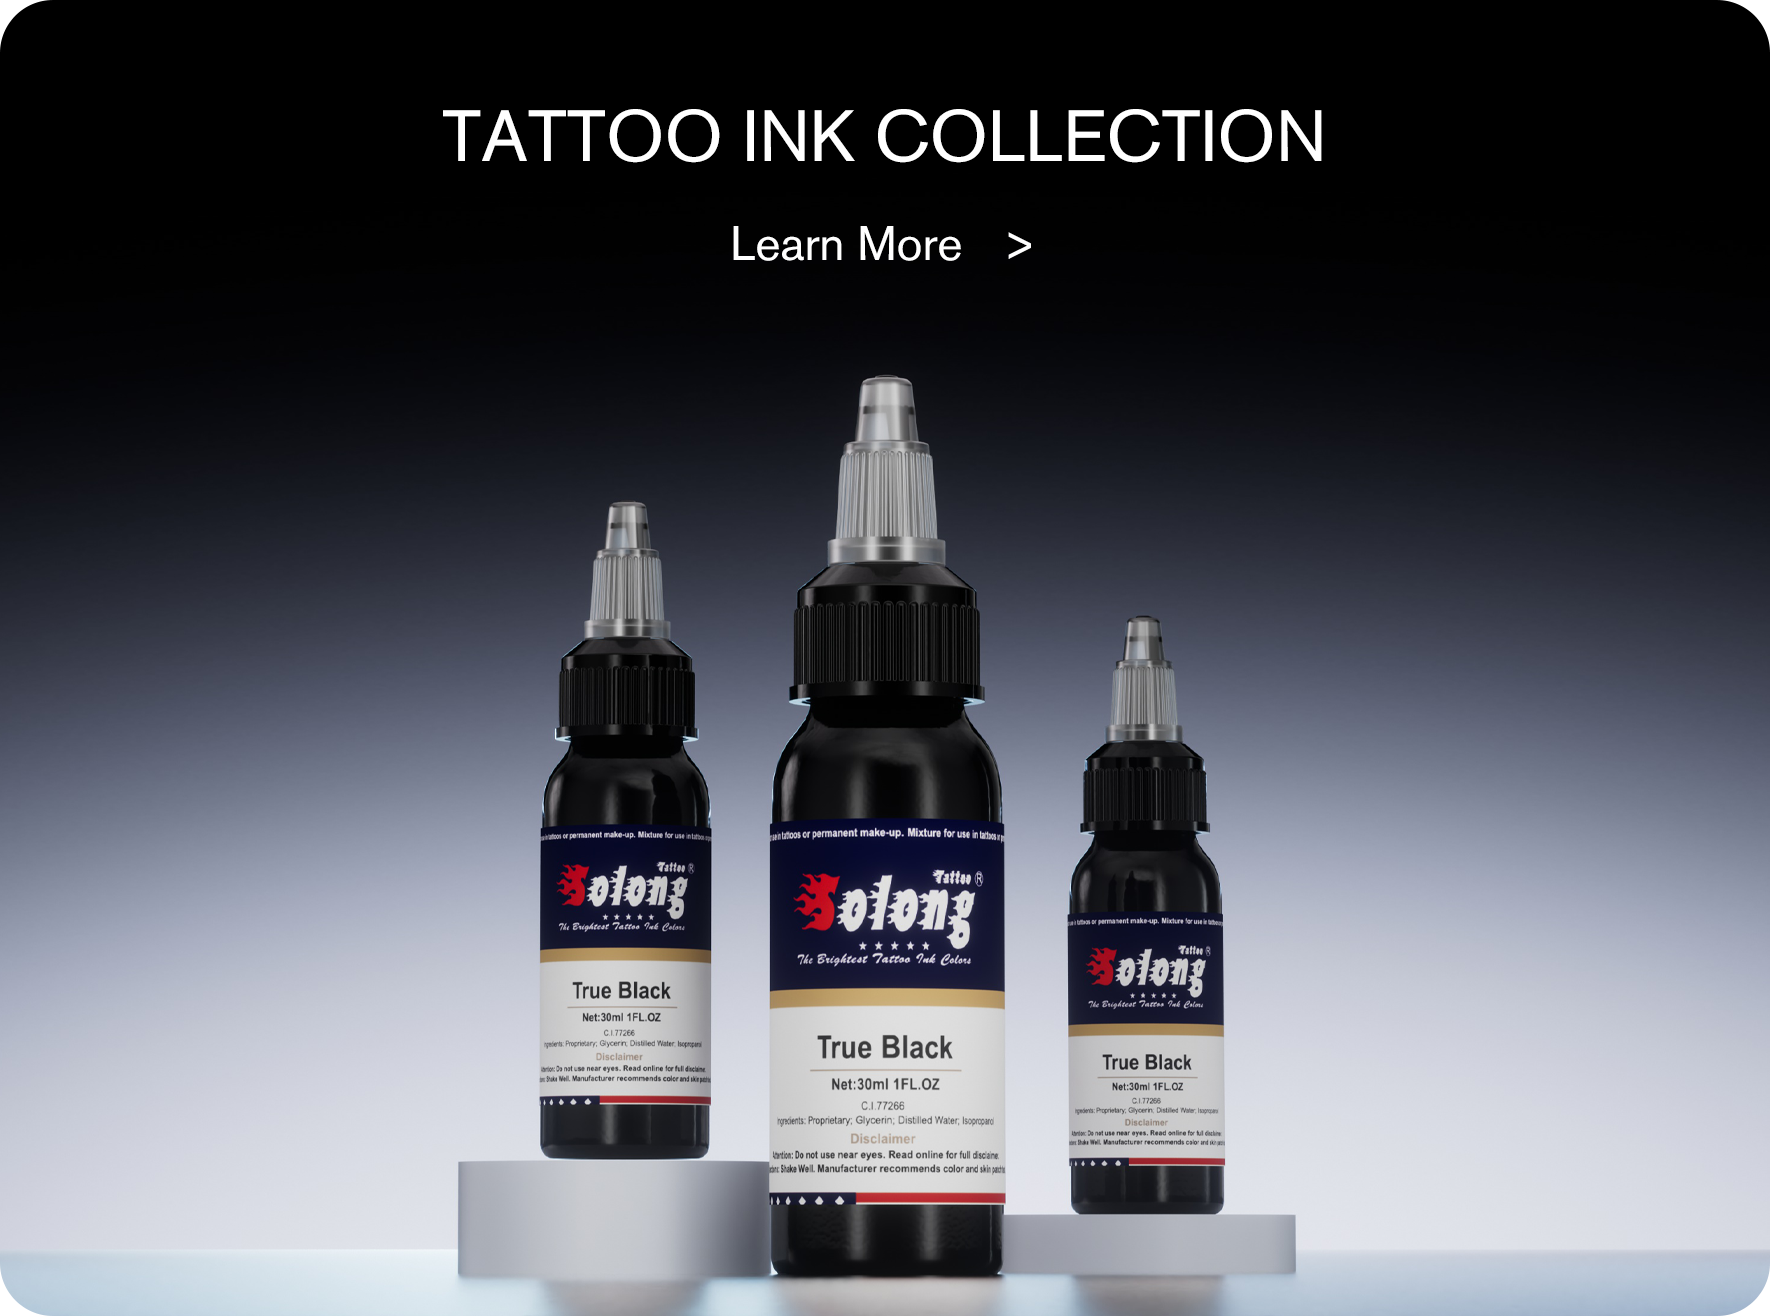
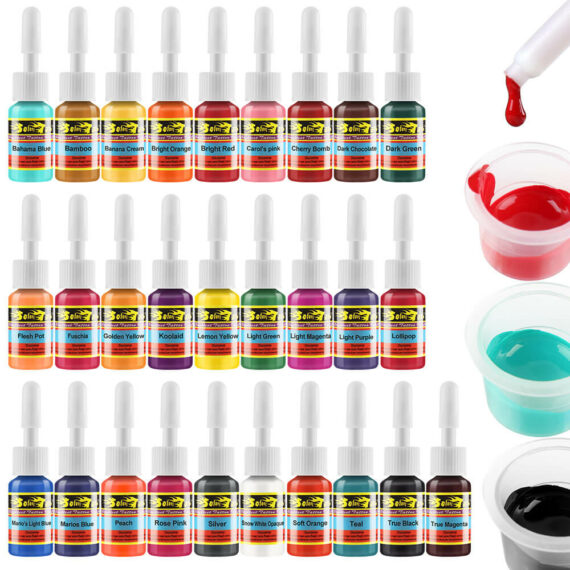
2. Tattoo Ink: Grab some sterilized tattoo ink in the color of your choice. Remember, quality matters, so opt for reputable brands that prioritize safety.
3. Disposable Gloves: Protect those hands! Wear disposable gloves to maintain a hygienic environment and prevent any potential contamination.
4. Rubbing Alcohol or Antiseptic Wipes: Before you start, clean the area of skin you’ll be tattooing with rubbing alcohol or antiseptic wipes. It’s like giving your canvas a clean slate.
5. Clean Work Surface: Find a tidy, well-lit area where you can set up shop. Cover your workspace with disposable materials to catch any ink splatters and make cleaning up a breeze.
6. Petroleum Jelly or Tattoo Ointment: After your masterpiece is complete, you’ll need something to help with the healing process. Keep some petroleum jelly or tattoo-specific ointment handy to moisturize the tattooed area.
7. Medical Tape or Bandage: Once your stick and poke creation is finished, you’ll want to protect it from friction and potential contaminants. Cover it up with sterile medical tape or a bandage.
8. Proper Lighting: You don’t want to squint while creating your masterpiece. Make sure you have good lighting so you can see your design clearly and work with precision.
So there you have it, your tattoo toolkit essentials. Before diving in, take a moment to double-check that everything is sterilized and ready to go. Now that you’ve got your materials sorted, let’s move on to setting up your creative space.
2. Preparing Your Work Area
Alright, let’s talk about your tattooing dojo. Creating a safe and comfortable workspace is just as important as having the right tools. After all, you’re about to embark on a creative journey, and you want everything to go smoothly.
Cleanliness is Key: Imagine you’re about to cook a delicious meal – you wouldn’t want a messy kitchen, right? The same goes for tattooing. Find a spot that’s clean, well-ventilated, and easy to wipe down. Lay down some disposable materials to catch any ink splatters and keep your area tidy.
Good Lighting Matters: Ever tried solving a puzzle in the dark? Yeah, not fun. Make sure you have ample lighting. Whether it’s natural sunlight or a trusty desk lamp, having good lighting will help you see your design clearly and work with precision.
Ventilation, Please: Let’s be real, nobody wants to be surrounded by fumes. If you’re using any cleaning agents or ointments, ensure there’s proper ventilation so you’re not breathing in any unnecessary chemicals.
Get Comfortable: You’ll be spending some time here, so make sure you’re comfortable. Grab a cushion, a stool, or whatever floats your boat. The more at ease you are, the better your focus and the smoother the process.
Music, Anyone? You’re about to create art, so why not set the mood? Put on your favorite tunes or a podcast to keep you entertained and in the zone.
Remember, this is your creative sanctuary. The more you invest in setting it up right, the more enjoyable your stick and poke experience will be. So tidy up, light up, and get ready to make your mark!
3. Personal Hygiene and Skin Preparation
Alright, now that your creative space is prepped, it’s time to get yourself in the zone. Before you start poking away, there are a few personal hygiene steps you need to follow. After all, a clean canvas is a happy canvas.
Wash Those Hands: You know the drill – soap, water, scrub. Give your hands a thorough wash to make sure you’re not introducing any unwanted germs into the mix.
Gloves Are Your Friends: Slip on those disposable gloves. Not only do they keep things hygienic, but they also protect your hands from any potential irritation.
Prep Your Skin: Just like you’d clean a canvas before painting, you’ll want to prepare the area you’re going to tattoo. Use rubbing alcohol or antiseptic wipes to gently clean the skin. This step helps reduce the risk of infection and ensures a smooth tattooing process.
Dry and Ready: After you’ve cleaned the area, pat it dry gently with a clean cloth. You want a dry surface to work on, but don’t go overboard – we’re not sanding wood here.
By taking these hygiene steps, you’re setting the stage for a safe and successful stick and poke tattoo experience. Remember, cleanliness isn’t just next to godliness – it’s next to a great tattoo!
4. Design Preparation: Stencils or Freehand?
Alright, Picasso, it’s time to bring your creative vision to life. Before you dive into the actual tattooing, you need to decide how you want your design to look. Here are two popular options: using a stencil or going freehand.
Option 1: Stencils Picture this: you’ve got a beautiful design, but you’re not quite confident in your freehand skills. Stencils are your best pals in this scenario.
Get Your Stencil: If you’ve got a stencil, place it over the area you want to tattoo. Make sure it’s aligned just right – you don’t want a crooked masterpiece.
Transfer the Design: Gently press the stencil onto your skin. You can use a gentle touch of water or a stencil transfer gel to help transfer the design onto your skin. Once it’s there, peel off the stencil carefully.
Voilà, Guided Art: Now you’ve got a handy guide to follow. Your pokes will stay within the lines, giving you a more polished look.
Option 2: Freehand Feeling brave and artistic? Going freehand allows you to channel your inner tattoo savant. Just keep in mind that this takes practice, so start simple.
Draw Lightly: Using a sterilized pen, lightly sketch your design directly onto your skin. Remember, this is just a guide – you’ll be tattooing over it.
Embrace Imperfections: Freehand designs can have a charming, raw appeal. Embrace any imperfections – they’re part of the beauty.
Whether you go with a stencil or freehand, your design is the heart and soul of your stick and poke tattoo. It’s your chance to express yourself, so have fun with it! Once your design is ready, it’s time to dip your toes (or needle) into the inky waters. Ready? Let’s go!

5. Needle and Ink Handling: Let's Get Poking!
Alright, get ready to dip into the world of needle and ink magic! This is where the real artistry begins. Remember, slow and steady wins the race – or in this case, creates a stunning stick and poke tattoo.
- Grab your sterilized stick and poke tattoo needle. Treat it like a precious tool – it’s your creative wand!
- Hold the needle like a pencil. This grip gives you better control over your poking motion.
Inking Up:
- Open your sterilized tattoo ink and dip the needle in. Make sure it’s coated, but not dripping.
- The needle acts like a tiny ink reservoir, holding just enough for each poke.
Getting the Poking Right:
- Position the needle over your design, taking a deep breath. You’re about to make some art!
- Gently and steadily press the needle into the skin’s top layer. The depth is crucial – it should be shallow to avoid discomfort and complications.
- Use a controlled poking motion. Think of it like painting small dots, one after the other.
Dab, Dab, Dab:
- Occasionally dab the area with a clean, damp cloth. This clears away excess ink and gives you a clear view of your progress.
- Remember, patience is your ally. Take breaks if needed, and appreciate the journey you’re on.
Practice Makes Perfect:
- If you’re new to this, practice on a piece of fruit or fake skin before diving into the real deal. It’s like rehearsing your moves before the big performance.
Tattooing is an art that takes practice and patience. With each poke, you’re adding a stroke of creativity to your canvas – your skin. Stay steady, take your time, and enjoy the creative process. And yes, you’ve officially become an artist with a needle!
6. Ink Application Techniques: Finding Your Flow
Hey there, ink maestro! By now, you’re familiar with the basics of poking, and your design is starting to take shape. But here’s a crucial tip: mastering the art of ink application can make a world of difference in the outcome of your stick and poke tattoo.
Balancing Act:
- It’s all about finding the right balance of ink. You want enough ink to create a solid design, but not so much that your skin becomes oversaturated.
- Remember, less is more. You can always add more ink later if needed.
Watch for Excess Ink:
- Keep an eye on your design as you work. If you notice excess ink building up, gently blot it away with a clean, damp cloth.
- This not only prevents over-saturation but also helps you see the details of your design clearly.
Be Mindful of Pressure:
- Consistent pressure is key. If you press too lightly, the ink won’t penetrate enough. Too hard, and you risk causing unnecessary discomfort or even injury.
- Practice different levels of pressure on a practice surface to get a feel for what works best.
Go Slow and Steady:
- Pacing matters. Rushing through the process might lead to uneven lines or shading.
- Take your time with each poke, ensuring that you’re creating a clean and even pattern.
Layering for Depth:
- For shading or adding depth, you can use a technique called layering. Apply multiple thin layers of ink to achieve the desired effect.
- Again, less is more – build up the shading gradually rather than saturating the area all at once.
Remember, your stick and poke tattoo is a work of art in progress. Each poke contributes to the masterpiece you’re creating. By mastering the art of ink application, you’re well on your way to creating a tattoo you’ll be proud to wear. So keep your hand steady, and let your creativity flow!
7. Aftercare: Nurturing Your New Ink
Congrats, artist! You’ve mastered the art of poking and inking, and your tattoo is finally complete. But hold on – the journey isn’t over just yet. Now it’s time to give your masterpiece the care it deserves during the healing process.
Gentle Cleanse:
- After you’ve finished tattooing, gently clean the area with mild, fragrance-free soap and lukewarm water. Pat it dry with a clean, soft cloth.
- Be careful not to rub or scrub the tattooed area – it’s delicate right now.
Moisturize, Moisturize, Moisturize:
- Keep the tattooed area moisturized to prevent excessive dryness and help with the healing process.
- Apply a thin layer of petroleum jelly or a tattoo-specific aftercare ointment. Gently massage it in, ensuring not to smother the tattoo.
Avoid Irritants:
- During the initial healing period, avoid exposing your new tattoo to irritants such as excessive sunlight, chlorinated water, and abrasive clothing.
- Loose, breathable clothing is your best friend right now.
No Picking or Scratching:
- Fight the urge to scratch or pick at scabs as they form. Let them fall off naturally to avoid damaging your tattoo and causing scarring.
Keep It Covered:
- Cover your tattoo with sterile medical tape or a bandage for the first day or two to protect it from rubbing against clothing and potential contaminants.
Monitor for Infection:
- Keep an eye on the healing process. If you notice any signs of infection such as excessive redness, swelling, pus, or fever, seek medical attention promptly.
Remember, your tattoo’s healing journey is just as important as its creation. By following these aftercare steps, you’re ensuring that your stick and poke tattoo heals beautifully and becomes a lasting piece of art on your skin. Treat it with care, and watch it transform into a unique expression of your creativity. You’ve not only created art but also become a part of its story.
8. Covering and Protecting Your Tattoo
Hey there, guardian of your new ink! Now that you’ve taken care of the initial aftercare steps, it’s time to give your tattoo a little extra protection. Think of it as giving your artwork its own cozy blanket.
Choose Your Shield:
- Opt for either sterile medical tape or a breathable, clean bandage to cover your tattoo. This protective layer shields it from rubbing against clothing and accidental bumps.
Application Tips:
- If you’re using medical tape, cut it to the appropriate size and gently apply it over your tattooed area. Make sure not to wrap it too tightly.
- If you’re using a bandage, ensure it’s clean and non-stick. Secure it with gentle, non-abrasive tape.
Why Cover?
- Covering your tattoo during the initial healing phase provides an extra layer of defense against external irritants and potential infections.
When to Remove:
- Depending on your tattoo artist’s or aftercare instructions, you might need to keep the covering on for a day or two. Once you remove it, ensure the tattoo is still clean and dry.
Breathe Easy:
- While a covering is important, remember that your tattoo also needs to breathe. Don’t keep it covered for too long, as fresh air aids in the healing process.
Protection and Care:
- As you go about your day, be mindful of your tattoo’s covering. Avoid excessive friction, and if you notice any discomfort or irritation, adjust the covering as needed.
Your tattoo’s little shield isn’t just about protection; it’s a sign of your commitment to keeping your new artwork safe and sound. By giving your tattoo this extra layer of care, you’re setting the stage for a smooth healing process and the long, vibrant life of your stick and poke creation. So wrap it up, keep it snug, and watch your tattoo transform into a masterpiece you’ll proudly wear.
9. Monitoring for Infection: Your Tattoo's Guardian
Hey, vigilant tattoo keeper! As you enjoy the journey of your healing tattoo, it’s important to play the role of a watchful guardian. Just like protecting a treasure, keeping an eye out for potential issues will ensure your artwork’s long and healthy life.
Signs of Trouble:
- While most healing tattoos follow a smooth path, there’s always a chance of infection. Watch for signs like excessive redness, swelling beyond the first few days, pus formation, or fever.
Immediate Action:
- If you suspect any signs of infection, don’t hesitate – seek medical attention promptly. Early intervention can prevent complications and help your tattoo heal properly.
General Care:
- Continue following your aftercare routine, keeping the tattoo clean and moisturized.
- Avoid exposing your tattoo to direct sunlight, which can lead to fading and irritation.
Resist the Itch:
- As your tattoo heals, it might start to itch. Fight the urge to scratch! Gently pat or tap the area instead.
Healing Timeline:
- Every tattoo heals at its own pace, but on average, you can expect the initial healing process to take about two weeks.
- The complete healing process might take several weeks to a few months, so be patient.
Embrace the Journey:
- Your stick and poke tattoo isn’t just a one-time event; it’s an ongoing experience. Embrace the journey, from creation to healing, and cherish the story your tattoo tells.
Remember, being a guardian of your tattoo means not only caring for it but also being attentive to its needs. By staying vigilant and responsive, you’re ensuring that your tattoo journey remains as positive and safe as possible. Now go forth, protect your masterpiece, and revel in the art you’ve brought to life!
10. Conclusion: Your Stick and Poke Tattoo Adventure
Congratulations, tattoo explorer, you’ve reached the end of your stick and poke tattoo adventure! From gathering your materials to becoming a master of poking, you’ve delved into the world of DIY ink with determination and creativity.
A Journey to Remember:
- Creating a stick and poke tattoo isn’t just about the end result; it’s about the journey. The process of turning an idea into a piece of art on your skin is an experience worth cherishing.
Artistry and Responsibility:
- Remember, with great creativity comes great responsibility. Safety, hygiene, and aftercare are essential to ensure your tattoo’s beauty and your well-being.
Alternatives:
- If you’re ever in doubt or looking for more complex designs, don’t hesitate to reach out to a professional tattoo artist. They bring expertise, sterile environments, and an array of designs to choose from.
A Part of You:
- Your stick and poke tattoo isn’t just a design on your skin; it’s a reflection of your personality, creativity, and individuality. Wear it with pride!
As you continue your journey with your fresh ink, keep in mind the stories and memories that led you to this point. From the first poke to the final flourish of ink, your tattoo is a piece of you, a snapshot of a moment, and a testament to your creative spirit. So rock your new ink, be proud of your artistic prowess, and remember the adventure you undertook to make it a reality. Your canvas is complete – wear it well!